PrismStudio Unity Project
This document is based on PrismStudio 1.16hotfix0.
Open PrismStudio Project
- Make sure that Unity 2022.3 (the one that VRChat uses) is installed.
- After downloading PrismStudio from a bot, Open PrismStudio as a Unity Project, via Unity Hub.
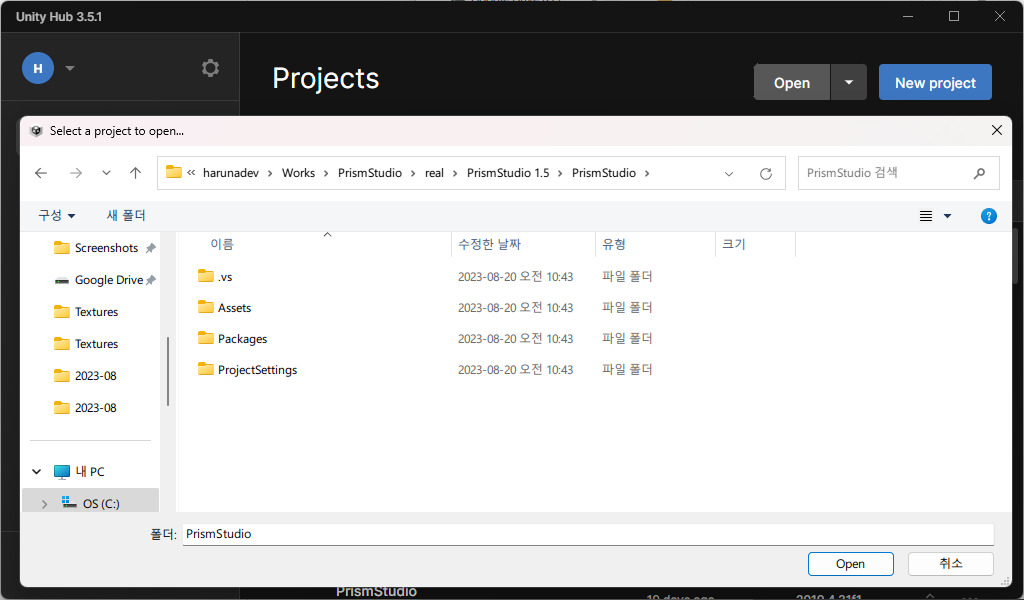
- Open the scene in the Asset folder.

- If you see PrismStudio prefab, Environment, and Camera objects in Hierarchy window, you’re good to go!
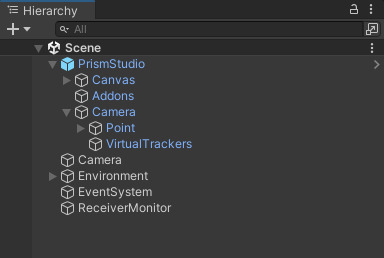
PrismStudio object structure
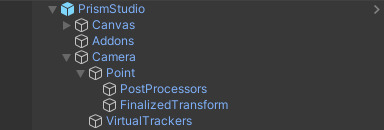
- PrismStudio - Main system object.
- Canvas - Canvas - Used to show FPS counter.
- Addons - Place all the addons you’re going to use.
- Camera - Object that has camera property (zoom, focus, etc.).
- Point - Move this object to move the camera position
- PostProcessors - All the PostProcessors attached to Point will be located here.
- FinalizedTransform - The finalized transform after all PostProcessors were processed.
- VirtualTrackers - With Virtual Tracker Manger component inside this object, you can manage your Virtual Trackers.
- Point - Move this object to move the camera position
Caution
Do not unpack PrismStudio prefab!!! You could be in some serious issues when you’re updating PrismStudio from previous version.
Do not move system objects like PrismStudio or Canvas! Unexpected issues may occur.
When not in production, it is more convenient to work in Editor Mode. However, during actual shooting, use Play Mode or Build & Run for maximum performance.
Preparing in VRChat
First-time Setup (Initial Avatar Upload/Update)
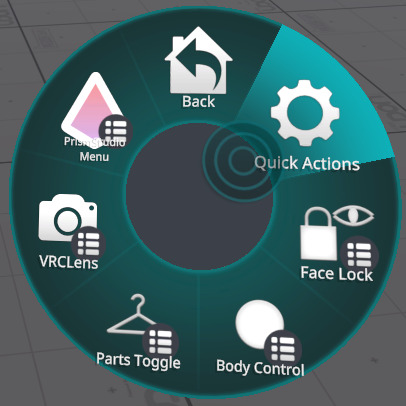
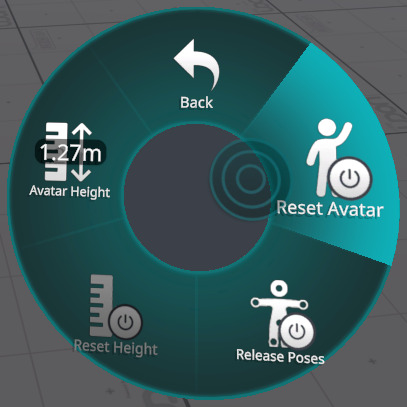
If this is your first avatar upload, you updated your avatar, are using a new PC, or encountered any other bugs, follow the steps below to initialize your avatar and OSC settings.
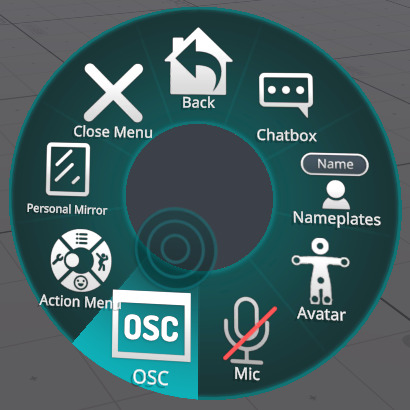
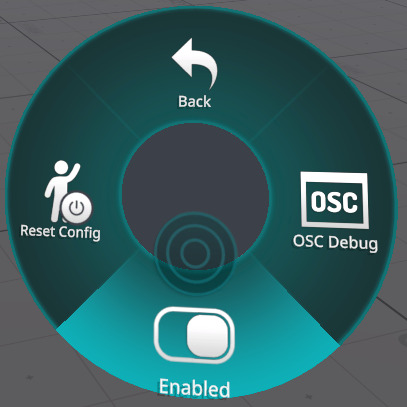
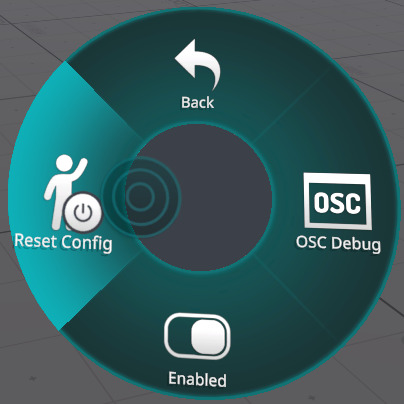
- In
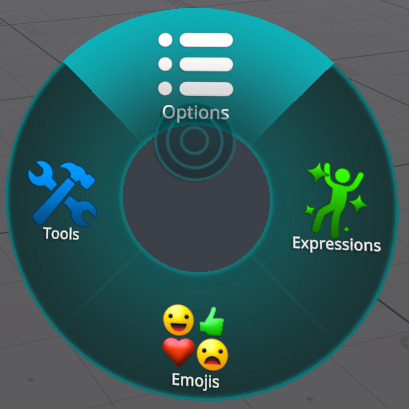
Options / OSC, ensure that OSC is enabled and clickReset Configto reset it.
 |
 |
 |
 |
 |
 |
 |
By following these steps, you can initialize your avatar to ensure smooth operation.
Enabling PrismStudio
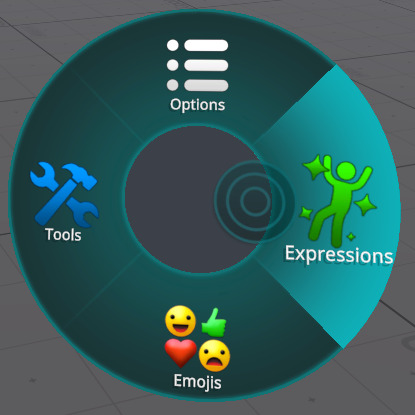
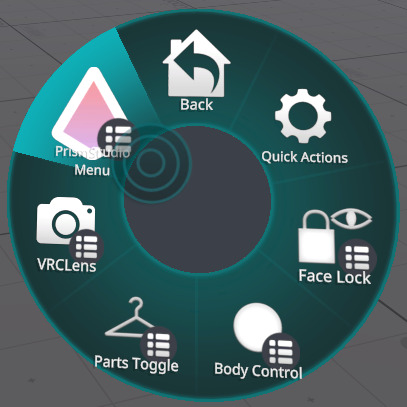
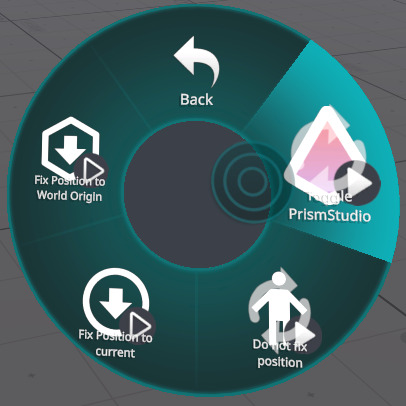
- Navigate
Expressions / PrismStudio / Toggle PrismStudio, and turn on PrismStudio.
 |
 |
 |
If using World Origin
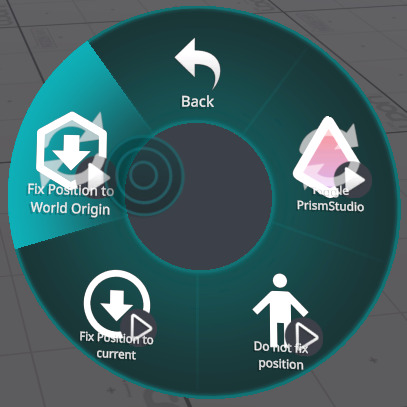
Fix the space of PrismStudio to the initial position of the world (XYZ 0, 0, 0) to use it immediately without complex World Drop adjustments.
- In
Expressions / PrismStudio / Fix Position to World Origin, enable World Origin.
 |
 |
 |
If using World Drop
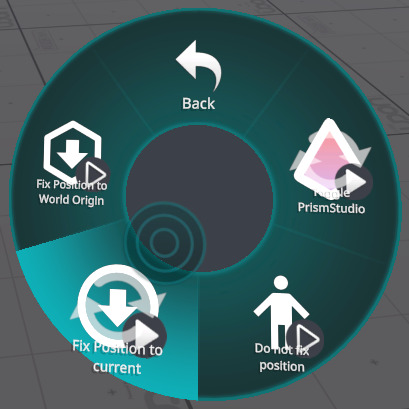
Fix the space of PrismStudio to the avatar's Root position when World Drop is activated, allowing effective use even in worlds larger than .
- In
Expressions / PrismStudio / Fix Position to current, enable World Drop.
 |
 |
 |
If you do not want to fix the World position (Not recommended)
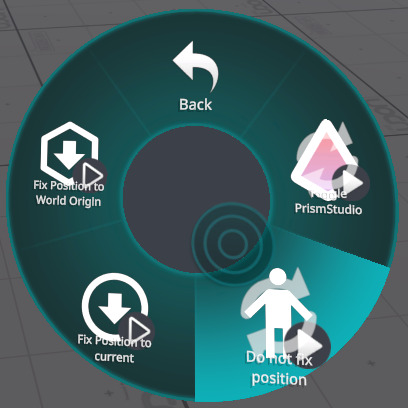
If you prefer not to fix PrismStudio to the world and use the avatar's Root position instead, you can use this option.
Due to instability in the Root position caused by avatar locomotion or other factors, this approach is not recommended.
- Navigate
Expressions / PrismStudio / Do not fix position, and enable the optiion.
 |
 |
 |
Disabling Camera Stabilization
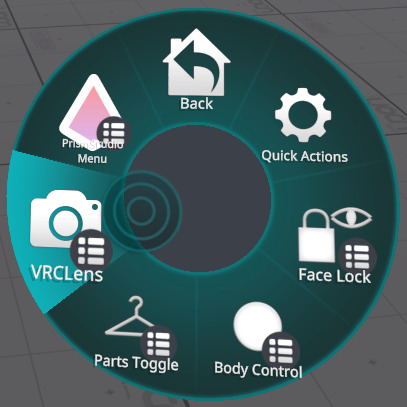
VRCLens has Camera Stabilization turned ON by default. This feature is not compatible with PrismStudio and may behave unexpectedly, so it is recommended to disable it.
For other camera gimmicks, Camera Stabilization is usually turned OFF by default, but it is recommended to double-check and disable it if necessary.
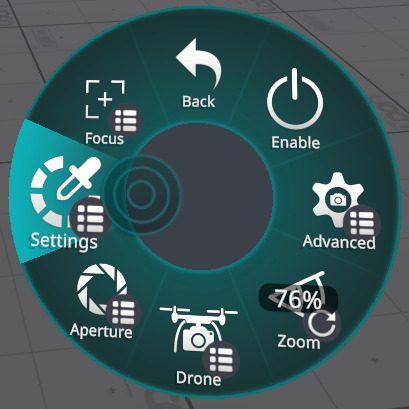
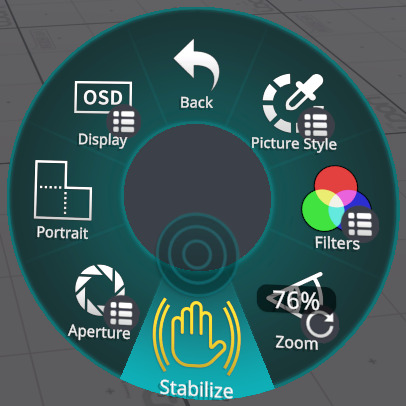
- (For VRCLens only) In
Expressions / VRCLens / Settings, click onStabilizeto disable Camera Stabilization.
 |
 |
 |
The image below shows how to check if the Camera Stabilization is turned off in VRCLens.
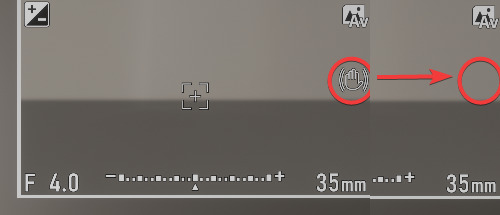
If the stabilization icon is no longer visible, it means that it is correctly turned off.
Using PrismStudio
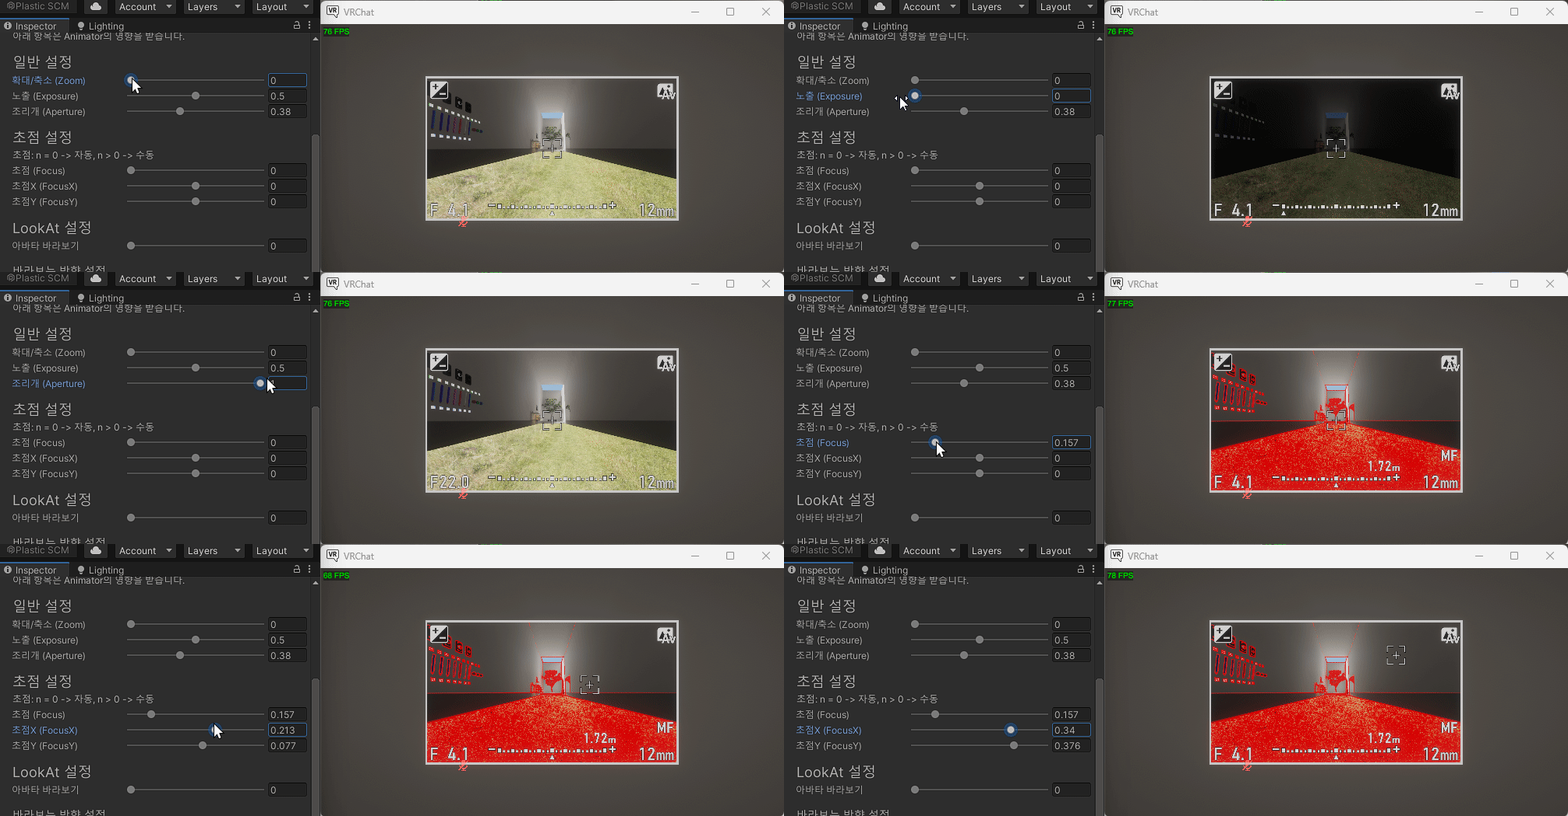
- Move the
Camera / Pointobject to adjust the camera position.
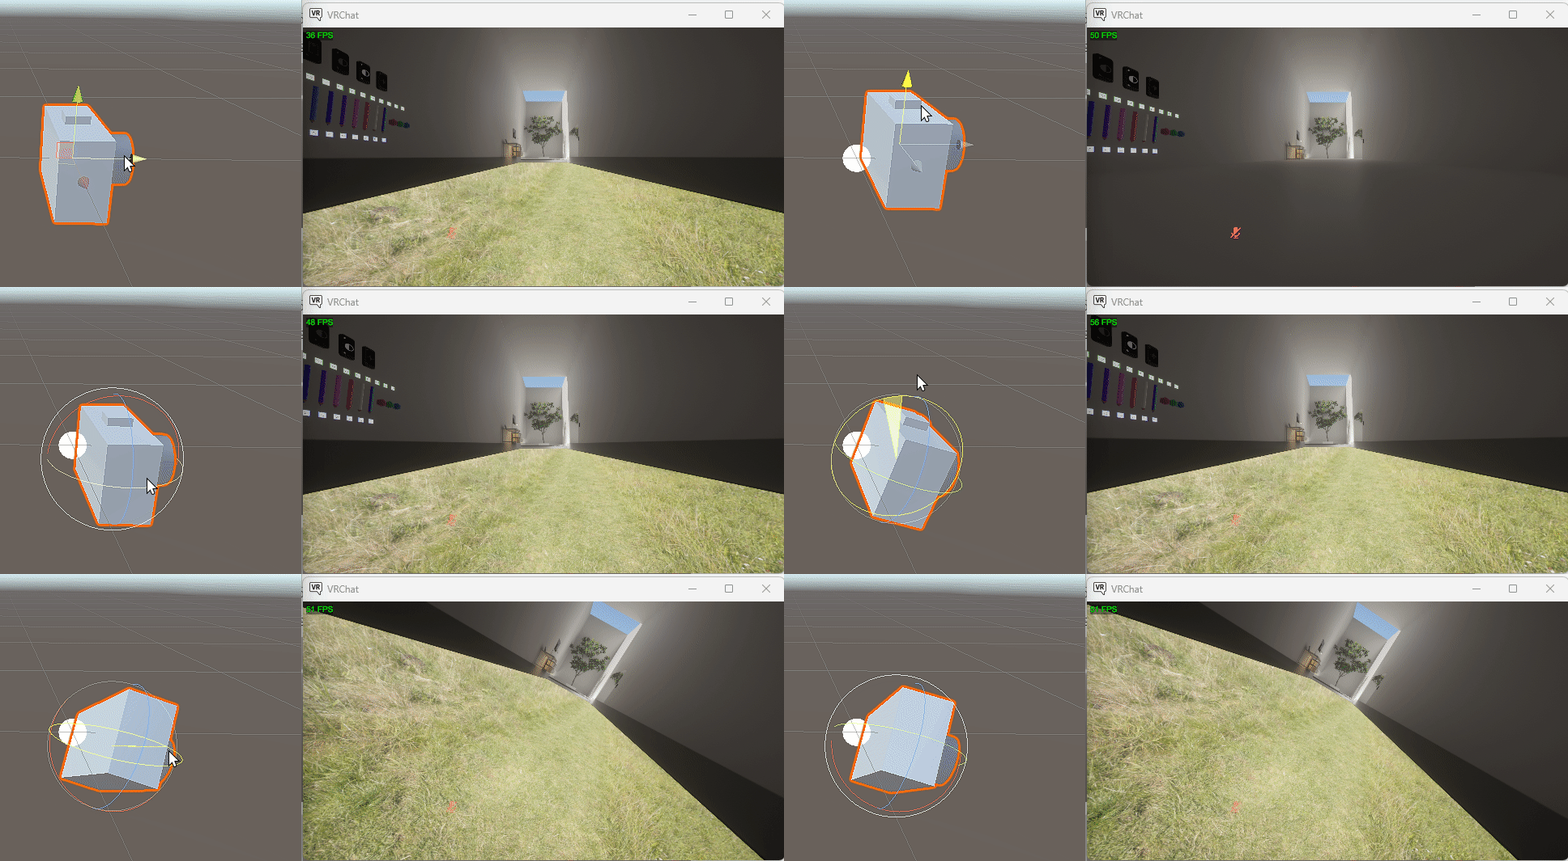
- Adjust the properties of the
Cameraobject to control the camera settings.
Installing Addons
The installation/operation method may vary for each addon. If you are installing an addon with a different setup process, please follow the installation and usage instructions for that specific addon instead of this guide.
- Download the addon you wish to install. Make sure to read the description and instructions as they may differ for each addon.
You can download addons from the VRCPrismStudio WebUI or from the Discord server!
- Open the downloaded
unitypackagefile. Before importing, ensure that the PrismStudio Play Mode is turned off.
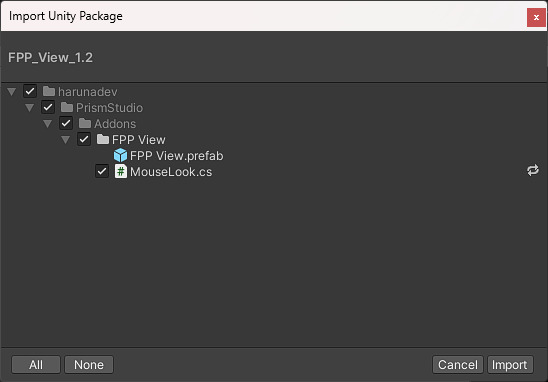
- If this is your first time installing the addon, drag the prefab of the addon into the
Addonsobject in the Hierarchy.

- The addon has been successfully installed and is now ready to use!